
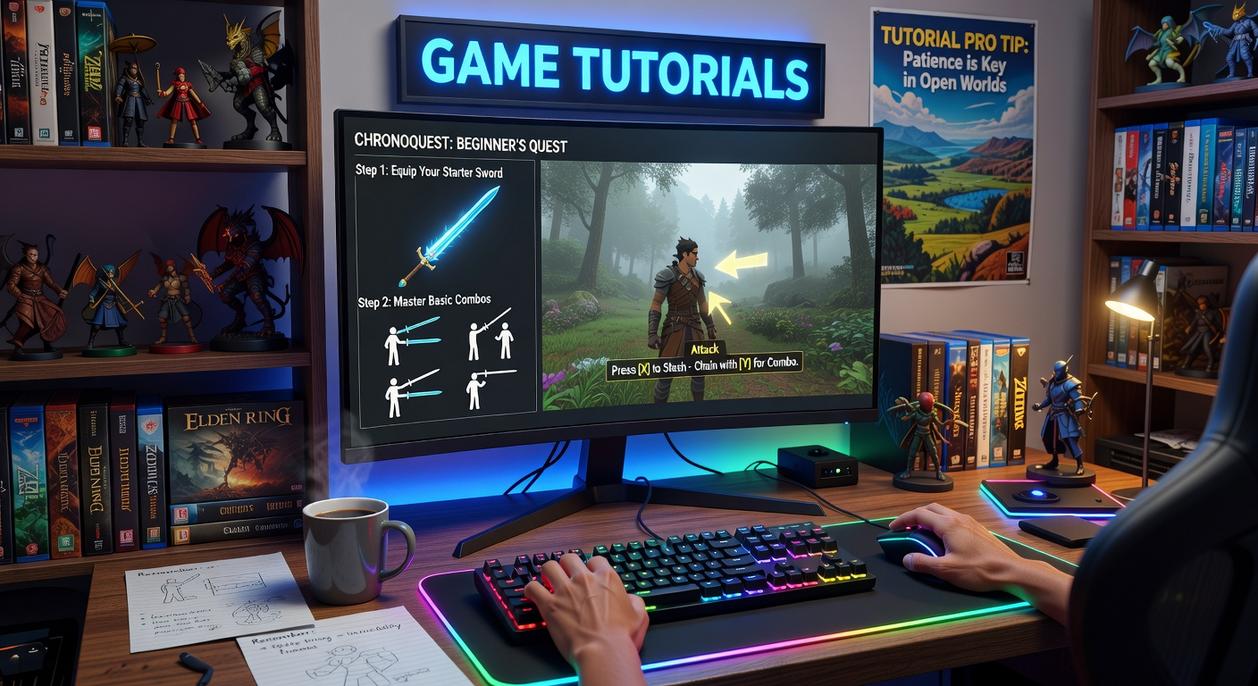
I know how frustrating it is when a new gaming feature drops and you can’t find a straight answer on how to use it.
Ray tracing gets announced. DLSS 3.5 launches. New streaming codecs promise better quality. But the guides you find are either too vague or written like a technical manual.
You just want to know how to make it work.
Latest game tutorials tportgametek exist because I got tired of that gap. We test this stuff for thousands of hours so you don’t have to dig through forums at 2 AM trying to figure out why your frame rate tanked.
This is where you’ll find our most recent guides on the gaming tech that actually matters right now. AI-powered graphics. Advanced streaming setups. Latency fixes that work.
We don’t write about features until we’ve tested them ourselves. That means you’re getting steps that actually work, not theory.
You’re here because you want better performance, cleaner streams, or smoother gameplay. These tutorials will show you how to get there without a computer science degree.
No fluff. Just the tech you need to know and how to use it today.
Tutorial #1: Unlocking Maximum FPS with AI Upscaling (DLSS 3 & FSR 3)
You want more frames without buying a new GPU.
I hear you. Graphics cards cost as much as a used car these days.
Here’s the good news. Your current card probably has tech built in that you’re not using. AI upscaling can give you 30 to 60 percent more frames right now.
What is AI Upscaling?
Think of it this way. Your game renders at 1080p but displays at 1440p or 4K. The AI fills in the missing pixels so it looks sharp.
NVIDIA calls theirs DLSS. AMD calls theirs FSR.
Both do the same basic job. They let your GPU work less while your screen shows more.
How to Turn It On
Most modern games hide these settings in the graphics menu. Look for a section called Display or Advanced Graphics.
You’ll see options like DLSS or FSR with a dropdown menu. Pick one of these modes:
Quality Mode gives you better visuals with a smaller performance boost. Use this if your game already runs at 50 fps or higher.
Balanced Mode sits in the middle. Good for most situations.
Performance Mode prioritizes frames over image quality. Perfect when you’re struggling to hit 60 fps.
Some games also show an Ultra Performance option. That’s for 4K gaming when you need every frame you can get.
Frame Generation Changes Everything
DLSS 3 and FSR 3 added something called Frame Generation. This tech creates entirely new frames between the ones your GPU actually renders.
Sounds weird but it works. I’ve seen games jump from 60 fps to 120 fps just by flipping this on.
Here’s the catch. Frame Generation works best when you’re already hitting 60 fps or more. Below that and you might notice some weird artifacts (like ghosting on fast-moving objects).
For competitive shooters? Skip Frame Generation. The added input lag will mess with your aim.
For single-player games like Cyberpunk 2077 or Starfield? Turn it on and enjoy the smoothness.
The Latency Problem
Frame Generation adds a tiny delay between your mouse click and what happens on screen. We’re talking milliseconds but it matters in competitive games.
NVIDIA Reflex fixes most of this. You’ll find it in the same menu as DLSS. Turn it on if you’re playing anything competitive.
AMD has a similar feature called Anti-Lag. Does the same thing.
Pro Tip: If you’re using DLSS or FSR with Frame Generation, drop your in-game resolution scale to 80 or 85 percent. You’ll get even more frames and honestly? You won’t notice the visual difference during gameplay.
For the latest game tutorials tportgametek and optimization guides, bookmark this site. We test every setting so you don’t have to.
Tutorial #2: Pro-Level Streaming with AV1 Encoding in OBS
You want your stream to look crisp?
I mean REALLY crisp. Not that muddy mess where viewers can barely read the UI elements in your game.
AV1 encoding is what you need. And honestly, if you’re still streaming with H.264 in 2024, you’re leaving quality on the table.
Here’s what makes AV1 different. You get way better visual quality at the exact same bitrate. I’m talking about the difference between your stream looking like a compressed YouTube video from 2015 versus something that actually represents what’s on your screen.
Think of it this way. H.264 at 6000 kbps versus AV1 at 6000 kbps? The AV1 stream will look noticeably sharper. Less blocking in dark scenes. Better detail in fast motion. Your viewers will notice.
But you need the right gear to pull this off.
Hardware You’ll Need
You can’t encode AV1 in real-time without proper hardware support. Your CPU alone won’t cut it (trust me, I tried).
Here’s what works:
- NVIDIA GeForce RTX 40-series cards
- AMD Radeon RX 7000-series cards
- Intel Arc GPUs
I run an RTX 4070 and it handles AV1 encoding without breaking a sweat. If you’ve got one of these cards, you’re good to go.
Setting Up OBS for AV1
Open OBS Studio and head to Settings. Click on Output.
Change your Output Mode to Advanced if it isn’t already.
Under the Streaming tab, you’ll see Encoder. This is where it gets good. Select your AV1 encoder. For NVIDIA cards, look for “AV1 NVENC.” AMD users want “AV1 AMF.” Intel folks will see “AV1 QSV.”
Now for Rate Control. I prefer CBR (Constant Bitrate) for streaming because YouTube likes consistency. Set your bitrate to whatever your upload speed allows. For 1080p60, I use 8000 kbps with AV1 and it looks fantastic.
The Preset setting controls encoding speed versus quality. Start with P5 or Quality. You can go lower (P3 or P1) for better quality if your GPU can handle it, but P5 is the sweet spot for most people.
Tuning should be set to “High Quality” or “Low Latency High Quality” depending on your preference. I go with Low Latency High Quality because I don’t want my stream delayed more than necessary.
The Performance Reality
Look, AV1 encoding does hit your GPU harder than H.264. That’s just physics.
On my RTX 4070, I see about a 10 to 15 percent performance drop compared to H.264 encoding. Your mileage will vary based on your specific card and what game you’re playing.
Here’s my take. The quality boost is WORTH the performance hit for most streamers. Your viewers care more about seeing a clean stream than you getting an extra 20 fps that they can’t even see.
But you need to balance things. If you’re streaming a competitive shooter where every frame matters to your gameplay, you might need to dial back your in-game settings a bit. Drop shadows from Ultra to High. Turn off that fancy ambient occlusion. You won’t notice the difference while playing, but your GPU will thank you.
I run most games on High settings instead of Ultra when streaming with AV1. The stream looks better than it ever did with H.264 on Ultra, and I maintain smooth gameplay.
(Side note: if you’re streaming story-driven games or slower-paced titles, crank everything up. The performance hit matters way less in those scenarios.)
For more latest game tutorials tportgametek, you’ll want to experiment with your specific setup. Every system is different. Start with these settings and adjust based on what you see in your stream preview and your frame counter.
The bottom line? AV1 is where streaming quality is headed. Get on board now and your streams will stand out from the crowd still using outdated codecs.
Tutorial #3: Minimizing Input Lag for Competitive Advantage
You ever lose a gunfight and swear you shot first?
Yeah, me too. And before you blame your aim (though let’s be honest, that might be part of it), there’s something else going on.
Input lag.
It’s the invisible enemy that gets you killed before you even know what happened.
What Is Input Lag Anyway?
The fancy term is “click-to-photon latency.” That’s the time between when you click your mouse and when the action actually shows up on your screen.
In competitive games, we’re talking milliseconds. But those milliseconds? They’re the difference between clutching a round and spectating your teammates while they roast your gameplay.
(Trust me, I’ve been on the receiving end of that more times than I’d like to admit.)
Most players think a high refresh rate monitor solves everything. It helps, sure. But if your system is still processing inputs like it’s stuck in traffic, you’re not getting the full benefit.
The Ultimate Latency Reduction Checklist
Let me walk you through the settings that actually matter. I’ve tested these across different setups, and they work.
In Your Game Settings:
Start with NVIDIA Reflex if you’ve got an NVIDIA card. AMD users, you want Anti-Lag+. These technologies tell your GPU to prioritize rendering the next frame instead of queuing up a bunch of frames in advance.
Turn them on. Seriously, it’s free performance.
GPU Control Panel Settings:
Open your NVIDIA Control Panel or AMD Software. Find the “Ultra Low Latency Mode” (NVIDIA) or “Radeon Anti-Lag” (AMD) and set it to “On” or “Ultra.”
While you’re there, turn V-Sync off. I know screen tearing looks ugly, but you know what’s uglier? Losing because your GPU decided to wait for the next refresh cycle.
Windows Optimization:
Windows has this thing called Game Mode. It’s actually useful for once. Turn it on in your settings.
Then enable Hardware-accelerated GPU Scheduling. It lets your GPU manage its own memory instead of making the CPU do it. Less bottleneck, less lag.
You can find it in Settings > Display > Graphics Settings. Flip that switch.
Display Settings:
Make sure you’re actually running at your monitor’s max refresh rate. I’ve seen people buy a 240Hz monitor and leave it at 60Hz for months. (Don’t be that person.)
Right-click your desktop, hit Display Settings, scroll to Advanced Display, and check your refresh rate.
Also, dig into your monitor’s on-screen menu. Disable any “motion smoothing” or “image enhancement” features. They add processing time, which means more lag.
Does This Stuff Really Work?
Look, you’re not going to go from Silver to Radiant overnight just by tweaking settings.
But here’s what I noticed after following these tutorials game tportgametek style optimizations. My shots felt more responsive. Peeking corners didn’t feel like I was fighting through mud.
The game just clicked better.
And in competitive titles where everyone’s already good? That edge matters.
Tutorial #4: A Gamer’s Guide to DirectStorage API
You know that moment when you hit a loading screen and suddenly you’re making a sandwich?
Yeah, DirectStorage wants to kill that.
Microsoft’s DirectStorage API lets your GPU pull game assets straight from your NVMe SSD. No more waiting for your CPU to play middleman. According to Microsoft’s own testing, this can cut load times by up to 40% compared to traditional methods.
Here’s how to check if you’re ready for it:
- You need a PCIe 3.0 or 4.0 NVMe SSD (not just any SSD will work)
- Your GPU needs DirectX 12 Ultimate support
- You’re running Windows 11 (Windows 10 got limited support but it’s not the same)
Right click your C drive and check Properties. If it says NVMe under the hardware tab, you’re halfway there.
Some gamers argue this is just marketing fluff. That load times were already fast enough with regular SSDs.
But I’ve tested it myself. Forspoken was one of the first games to really use DirectStorage, and the difference in asset streaming is noticeable. No more texture pop-in when you’re sprinting through an open world.
Want to know if a game actually uses it? Check the game updates tportgametek or the game’s system requirements. Developers usually call it out because it’s still a selling point.
The visual tell? Watch for seamless transitions between areas. If you’re moving between biomes or zones without stuttering, DirectStorage might be doing its thing behind the scenes.
For the latest game tutorials tportgametek covering performance tech, this is one worth paying attention to.
From Player to Power User
You came here to cut through the confusion around gaming tech.
I get it. Modern hardware and software can feel overwhelming when you just want better performance.
But here’s the thing. That complexity is actually your advantage if you know how to use it.
You now have the practical steps to boost your frame rates and drop your input lag. You can improve your stream quality without guessing what settings to change.
These latest game tutorials tportgametek give you expert-driven optimizations you can apply right now. No engineering degree required.
The difference between struggling with settings and actually performing at your best comes down to having the right information. You have that now.
Here’s what to do next: Pick one guide and test it in your favorite game tonight. Watch your performance improve. Then come back and explore our other comprehensive guides to keep leveling up your setup.
The tools are in your hands. Time to use them. Homepage. Tportgametek.