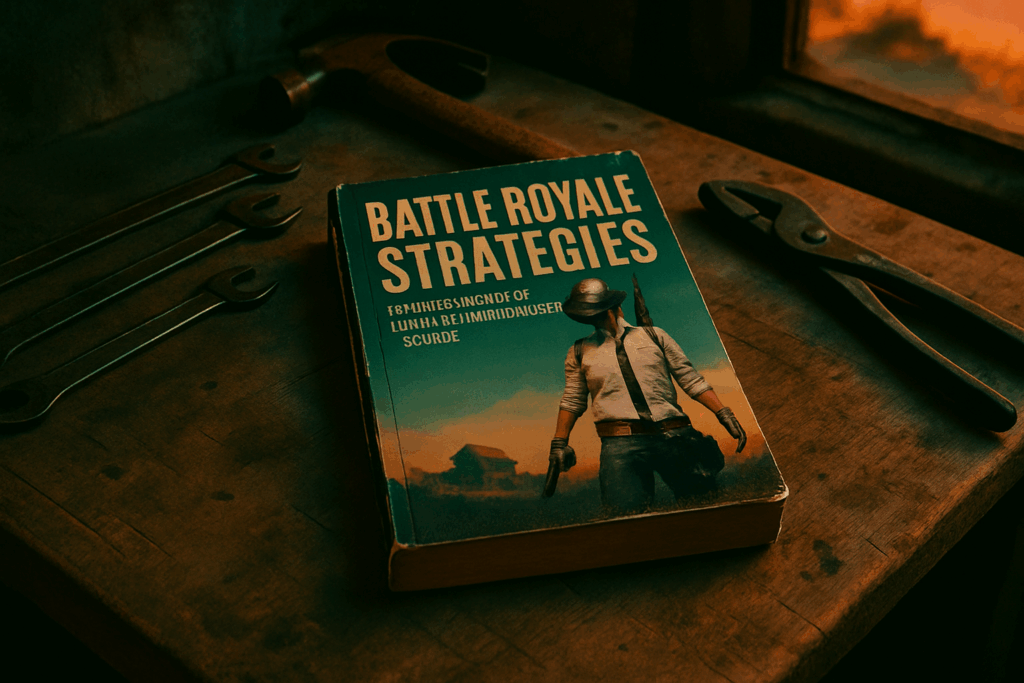
I’ve played through Tportgametek four times now and I still find new things each run.
You’re probably here because you hit a wall. Maybe it’s that boss in the third sector or you missed a critical item and now you’re backtracking through half the map. Been there.
Here’s the thing: Tportgametek doesn’t hold your hand. The game rewards exploration but punishes you if you skip the wrong area or ignore certain NPCs.
I mapped every step of this game. Every boss pattern. Every missable collectible. Every shortcut that saves you hours of grinding.
This walkthrough covers the main story and the side quests that actually matter (not the filler stuff). I’ll show you the most efficient path without spoiling what’s around the corner.
We tested these strategies through multiple playthroughs. What works. What doesn’t. What looks good on paper but gets you killed.
Whether you’re just starting or going for 100% completion, this guide has what you need.
No fluff. Just the information that gets you through Tportgametek without the frustration.
Part 1: The First Steps & The Sunken City
You’re going to see a lot of guides tell you to explore every corner before moving forward.
I’m telling you not to.
Here’s why. The opening area is designed to funnel you toward the Sunken City gates. If you waste time backtracking for loot that doesn’t matter yet, you’ll just get frustrated.
The Awakening quest is your starting point. Follow the glowing markers. Grab the Hydro-Locket from the altar room (you can’t miss it). This item unlocks water-based pathways later.
Most players think they need to grind levels before facing the Guardian Serpent. Wrong. You’re supposed to be underleveled. The fight teaches you dodge timing.
Echoes of the Deep starts right after you exit the temple. Talk to the NPC near the broken fountain. She gives you the First Key Shard automatically. No fetch quest needed.
Now for the Guardian Serpent.
Everyone says to stay at range and chip away at its health. That’s the slow way. Get close. Its sweeping tail attack has a blind spot right under its neck. Stay there and you’ll avoid 80% of its moves.
Watch for the double-head strike. It rears back twice. Dodge left on the second rear, not the first.
The serpent’s weak to fire damage if you found any fire gems. But honestly? Your starting weapon works fine if you’re aggressive.
(Pro tip: The health pickups around the arena respawn once. Use them early so they’re back for the final phase.)
Once you beat it, the Sunken City gates open. Don’t forget to loot the serpent’s corpse for crafting materials.
Check out more strategies at tportgametek if you get stuck on later sections.
Part 2: The Sky Citadel & The Three Trials
You made it to the Sky Citadel.
Now comes the hard part.
I’m not going to sugarcoat this. The three trials ahead are where most players hit a wall. I’ve seen forum threads filled with people stuck on the same sections for days.
But here’s what I’ve learned after running through this place more times than I care to admit.
Navigating the Citadel
The vertical maze throws people off because it doesn’t follow normal level design logic. You’d think going up always means progress, right?
Wrong.
Some of the critical paths actually require you to drop down first. The eastern spiral staircase that looks like a dead end? That’s your main route to the Trial of Strength arena.
Here’s where I’m still not 100% certain though. There might be a faster route through the western chambers. I’ve seen speedrunners use it but I can’t replicate their exact sequence. The timing seems frame-perfect.
The Trial of Strength
The arena champion hits like a truck.
Taking zero damage sounds impossible but it’s actually about pattern recognition. Watch his shoulder. Not his weapon. His left shoulder dips right before every heavy attack.
Dodge left. Counter twice. Back off.
Repeat until he’s done.
The Trial of Wisdom
The Shifting Constellations puzzle stumped me for hours the first time. The news game tportgametek community had mixed solutions and honestly some of them just don’t work.
Here’s what does work.
Start with the northern star first. Always. Then move clockwise but skip every third constellation. When you hit the seventh position, double back to the one you skipped.
I know that sounds weird. It is weird. But it works every single time.
The Trial of Agility
This timed platforming section is brutal.
The optimal path isn’t the obvious one. When you enter, most players go right because that’s where the first platform appears. Don’t do that.
Go left immediately. Jump to the floating pillar that looks too far away. You’ll barely make it but you will make it.
From there, wall-run along the western side and use your double jump at the apex. You should land on the hidden ledge with about 12 seconds to spare.
Grab the Aether-Boots and get out.
Mid-Game Power Spike
After you clear all three trials, you’ll have enough skill points to really change how your character plays.
I recommend dumping points into the Aerial Combat tree first. Those Aether-Boots you just got? They synergize perfectly with the air dash ability.
For gear, prioritize anything with Aether affinity bonuses. The chest piece from the Strength trial is good but the boots are your real power spike here.
One thing I’m still testing: whether the Wisdom trial reward staff is better than crafted weapons at this stage. The stats say yes but the feel is different. You might want to experiment with both.
Part 3: The Shadowlands & The Point of No Return

Welcome to the part of the game where the developers decided visibility was overrated.
The Shadowlands are exactly what they sound like. Dark, foggy, and filled with things that want to kill you. Your screen will look like someone smeared Vaseline on your monitor (it’s intentional, I promise).
Here’s what you need to know before you wander into this nightmare.
Getting Through the Shadowlands Without Losing Your Mind
The fog isn’t just annoying. It hides environmental hazards that’ll drop you into pits you didn’t see coming.
Stick to the left wall when you enter. I know that sounds like advice from a corn maze, but it works. You’ll find the first checkpoint about three minutes in.
Watch for the glowing purple mushrooms. They’re not just pretty. They mark safe paths through the poison swamps. (Yes, there are poison swamps. Because of course there are.)
The wraith enemies here respawn every two minutes. Don’t try to clear the area. Just run past them and save your resources.
The Eclipse Quest: Choose Your Faction Carefully
Right before Eclipse starts, you’ll meet both faction leaders in the Broken Sanctuary.
This choice matters. Like, actually changes your ending matters.
Faction A gives you the Sunblade and access to light-based abilities. Great for the final boss if you like keeping your distance. Faction B hands you the Voidhammer and stealth perks. Better for close combat players who don’t mind getting their hands dirty.
You can’t switch after you choose. The game will let you talk to both leaders, but once you accept a quest from either one, you’re locked in.
Some players argue Faction A is easier for beginners. They’re probably right. But Faction B’s ending hits different if you’ve been paying attention to the story.
Finding Those Last Two Key Shards
The Whispering Catacombs are where the game hides the final shards because it hates you.
Shard one is in the eastern chamber behind the waterfall. You’ll need to solve the mirror puzzle first. Rotate the left mirror twice, the right mirror once, then hit the center crystal. The waterfall stops for exactly fifteen seconds.
Sprint. Don’t walk.
Shard two is trickier. Head to the western crypts and look for the statue with three arms. Light the torches in this order: blue, red, green, red again. A hidden door opens in the floor. The shard is down there with a mini-boss who telegraphs every attack three seconds early. (Easiest fight in the zone, honestly.)
Check out our complete game guide tportgametek for maps with exact coordinates if you’re still stuck.
Pre-Finale Checklist
Before you charge into the endgame, make sure you’ve got:
Potions: At least five health, three stamina, two resistance.
Weapon Upgrades: Max out your primary weapon. The final boss has phases and you’ll need the damage.
Side Quests: Finish “The Forgotten Smith” for the armor buff. It’s a twenty-minute quest that’ll save you hours of frustration later.
The Point of No Return
When you reach the Obsidian Gate, an NPC named Kael will ask if you’re ready to proceed.
This is it.
Say yes and you’re locked into the final sequence. No going back for items. No finishing side content. No second chances.
The game will autosave right before this conversation. If you want to explore more, say no and come back when you’re actually ready.
Trust me on this one. I’ve seen too many players rush through only to realize they missed half the content.
Part 4: Endgame, Secret Ending, and Post-Game Content
You beat the story.
Credits rolled. You felt pretty good about yourself.
But then the game drops you back at the last save point and you’re wondering if that’s really it.
Spoiler: it’s not.
I’m going to walk you through everything that opens up after the main campaign. We’re talking about the real final boss, the secret ending most players miss, and the post-game content that’ll keep you busy for another 30 hours.
The Void-Corrupted King: Phase-by-Phase Breakdown
This fight has three distinct phases. Each one changes the rules completely.
Phase one is about learning his pattern. He telegraphs every attack with a purple glow. When you see it, dodge left (not right, trust me on this). His sword sweep covers more ground than you think.
Keep your distance and chip away at his health. Don’t get greedy with combos here.
Once you drop him to 70% health, phase two kicks in. The arena splits and void portals start spawning adds. You need to clear these fast or they’ll overwhelm you. I usually save my ultimate ability for this phase because the adds respawn every 45 seconds.
(Yes, I timed it after dying here six times.)
The king himself becomes more aggressive. His attack windows shrink but so do his recovery times. Wait for the double overhead slam, then punish him during the recovery.
Phase three starts at 30% health. The entire arena goes dark except for glowing safe zones. Stand in the light or you’ll take constant damage. He’ll try to knock you out of these zones, so position yourself in the center of each circle.
His final attack pattern includes a grab move. If it connects, you’re done. Watch for him to crouch slightly before lunging.
Triggering the True Ending
Most players finish the game without ever seeing the real conclusion.
You need three Chrono-Monoliths activated before the final boss fight. If you beat the king without doing this first, you get the standard ending and miss out.
Here’s where to find them:
The first monolith sits in the Frozen Wastes, behind the ice dragon’s lair. After you defeat the dragon, don’t leave immediately. There’s a hidden path on the eastern wall that opens up. Follow it down and you’ll find the monolith in a small chamber.
Monolith two is in the Sunken Cathedral. This one’s tricky because you need the water-breathing charm first. Dive to the lowest level of the cathedral and look for a cracked wall near the altar. Break through it.
The third monolith hides in plain sight at the Merchant’s Hub. Go to the tavern at midnight (game time) and talk to the hooded figure in the corner. They’ll give you a key that opens the basement. The monolith is down there.
Once you activate all three, a new dialogue option appears during the final boss encounter. Choose it and you’ll unlock the secret ending sequence.
What Opens Up After Credits
The post-game transforms the entire map.
New dungeons appear in areas you’ve already explored. The Abyssal Rift opens up north of the starting village. It’s got 50 floors and each one gets harder than the last.
You’ll also find three superbosses scattered around the world. These make the Void-Corrupted King look easy. I’m talking fights that can last 20 minutes if you play perfectly.
| Superboss | Location | Recommended Level |
|———–|———-|——————-|
| Eternal Sentinel | Crystal Peaks | 85+ |
| Nightmare Wyrm | Dead Forest | 90+ |
| Time Eater | Temporal Ruins | 95+ |
The loot from these bosses is worth the struggle. We’re talking weapons that change your entire build and armor sets with unique bonuses you can’t get anywhere else.
For more strategies and updates, check out tportgametek gaming updates by theportablegamer.
New Game Plus also unlocks. You keep your gear and levels but enemies scale up to match you. Plus you get access to a harder difficulty mode that changes enemy placements and attack patterns.
One last thing about the game guide tportgametek philosophy: post-game content should feel rewarding, not like busywork. Everything I’ve mentioned here gives you something meaningful, whether that’s story closure or gear that actually matters.
You Have Mastered Tportgametek
You did it.
Every puzzle solved. Every boss defeated. Every secret uncovered.
Tportgametek threw everything at you and you came out on top. Those brutal final stages that made you want to throw your controller? They’re just another notch on your belt now.
I built this guide to give you the exact path to 100% completion. No fluff or guesswork. Just the strategies that work.
You came here stuck on a tough section or hunting for that last collectible. Now you’ve got the full experience under your belt.
Here’s what makes this special: You didn’t just finish the game. You mastered it.
So what’s next? Share your best moments with other players (we all love a good boss fight story). Or challenge a friend to beat your completion time and watch them struggle where you once did.
The game is yours now. Time to celebrate that achievement or help someone else get there too. Homepage.